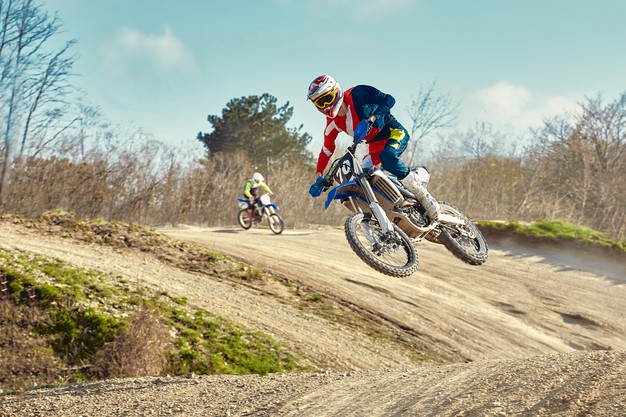
The first thing that you do when you first buy a dirt bike is to think about ways how to protect it. One of the protection that is important to most of us is protecting its paint from getting damaged. You put dirt bike graphics to make it trendy and stand out. Do you know that these dirt bike graphics not just add an expression to it but also save its paint from fading away or get scratched? The dirt graphics comes with a special coating that protects its surface and maintains its look while giving it personalized styling. Of course, you need to buy quality decals at first. You find them here. But if you are not skilled enough to apply it on your bike, you might end up having air bubbles in it.
So, here we are with some of the most practiced tips to avoid air bubbles in the dirt bike graphics:
1. Prep Up The Surface
The decals, irrespective of their material, should be applied to a clean and dry surface. The first step towards applying your decals and avoiding bubbles is to clean the surface using brake cleaner and wipe it with a paper towel. To get a cleaner body, use an alcohol-based window cleaner after that and fully dry all the surface. You can even use a soft cloth to wipe it. Avoid using soap solution to clean as it damages the vinyl glue. Do not use the oil-based cleaner as it prevents the decals from sticking correctly.
2. Place the Vinyl Decal
The next thing you do is place the graphics onto the surface without removing its plastic and mask it with the tape across the corner to hold it. Once you get an idea of how it will appear after sticking, remove the adhesive side of the graphics and carefully position it where you have placed the masking tape. Once established at the desired position, use a squeegee or any hard material to press it against the surface to move and get sticker grip with the body.

3. Nudge the Air Bubbles
Most of us aren’t lucky enough to get no bubbles in the sticker. The next thing you would do is find the air bubbles and prick them using a sharp, tipped object. Smooth out the bubbles using a hard item by pressing it and slowly move it towards the edge. Don’t worry about the holes you pricked, and it won’t be visible to anyone.
4. Soften the adhesive using a blow-dryer
Some stubborn bubbles require extra effort to get removed. Apply heat onto the surface using a blow dryer to soften the sticker and its adhesive and gradually press the bubbles towards the edges to get rid of them. Do not overheat the graphics as it might damage the vinyl decal. Heat the surface at short intervals to complete the process of eliminating the air bubbles.

5. Let it Dry in Shade
One of the reasons for getting air bubbles even after applying the dirt bike graphics carefully is letting it dry in direct sunlight. Keeping it under direct sunlight may heat up the surface forming air bubbles in the sticker. Let it dry someplace away from the bright sun, and enjoy the correctly applied decal look on your bike.
Final Tip
Keep Patience! Please don’t rush to get your dirt bike graphics put on as soon as you get it. Patience is the key to apply it. The more careful you are with it, the better will be the final result. Having a buddy by your side can be even more helpful.


