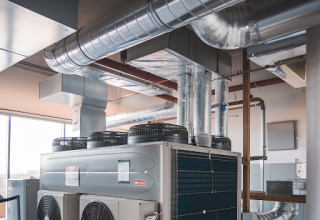
If you have a home with a history of mold, you need to consider the cost of mold remediation. The cost will vary depending on the extent of damage and the extent of repair required. The costs involved in the process may include drywall and roofing materials, foundation sealing material, and textile replacement. Clearance testing will ensure that the remediation process is successful.
Clearance testing ensures success
The success of your mold remediation depends on how well you perform clearance testing. A successful remediation process will leave no trace of mold inside the building. The level of mold should be below the exterior property.
If the test fails, you should hire an independent testing company. This will ensure that the remediation was done properly. However, this testing may not be required by the contractor you hired.
To make sure that your mold remediation is a success, conduct several tests. Obtain air samples from multiple locations to determine whether the airborne levels are comparable to outdoor air. Then, engage air scrubbers to reduce elevated levels.
Ensure that the entire building has undergone the necessary mold remediation procedures. Clearance testing should be completed before removing the containment. The ACGIH has guidelines for how to conduct clearance tests. Click here to visit their website.
Removal of porous building materials
If you have a problem with fungus, you should act quickly to get rid of it. If you don’t, it could quickly grow into a big problem. While small amounts of fungus are easily manageable, larger amounts can be devastating. There are several steps you can take to minimize your expenses while still getting rid of the problem.
First, remove any porous building materials from the affected areas. Porous building materials are not suitable for fungus remediation because they can absorb a significant amount of moisture and may not be easy to clean. When wet, they can lose structural integrity.
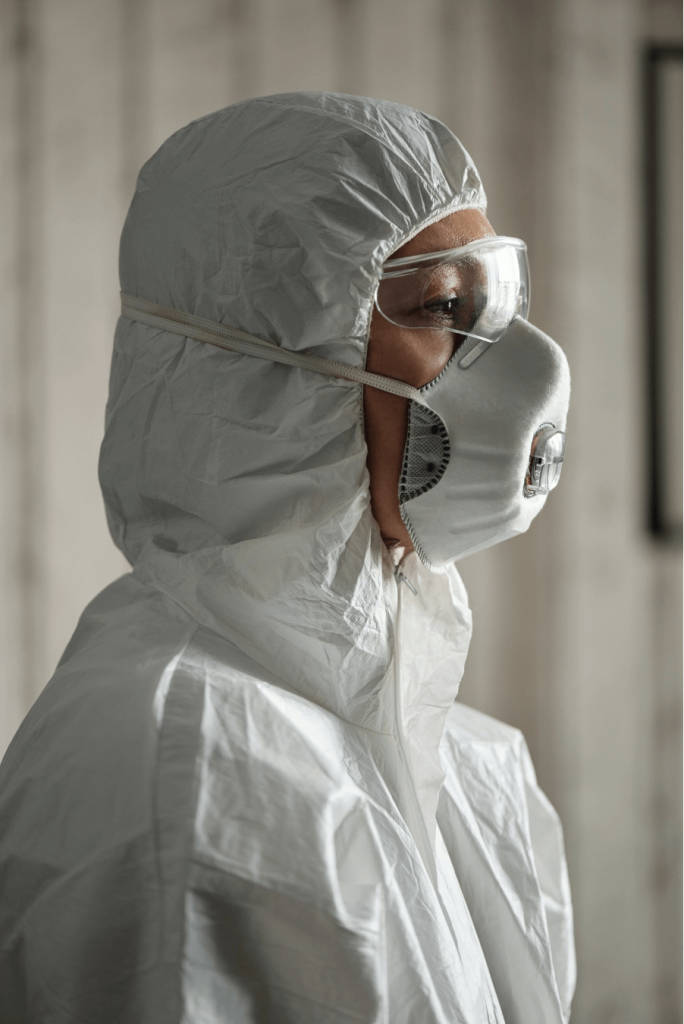
You should wear protective gear when cleaning them. Click the link: https://www.cdc.gov/niosh/ppe/default.html for the CDC’s guide to proper protective gear. It is also a good idea to follow a safety protocol when handling them. However, if you’re unsure of what to do, it’s best to call a professional.
To remove fungus from wood and other porous building materials, use vinegar. Apply a small amount of vinegar to the affected surface. Allow the solution to sit for one hour before wiping it down. After wiping, dry the surface thoroughly. The wood fungus may not be completely removed. You may have to sand it to get to the deepest part of the fungus.
After removing porous building materials, you must prepare the area for the remediation process. If the fungus spores are already present, the removal process can be dangerous. In addition, unprotected people should stay away from the area. It is essential to protect them with protective gear during the remediation process.
In larger remediation projects, containment is crucial. If the area is large enough, sheeting may be necessary. A negative pressure barrier may be necessary for the project.
Before removing porous building materials, you should test the air samples. A high-quality sample will indicate whether the fungus is present or not. You can use this test to determine if your property is safe to live in. Besides air sampling, you should also collect samples for post-remediation assessment. This will be the only way to determine the extent of the fungus problem and ensure it’s completely gone.
Cleaning and disinfecting
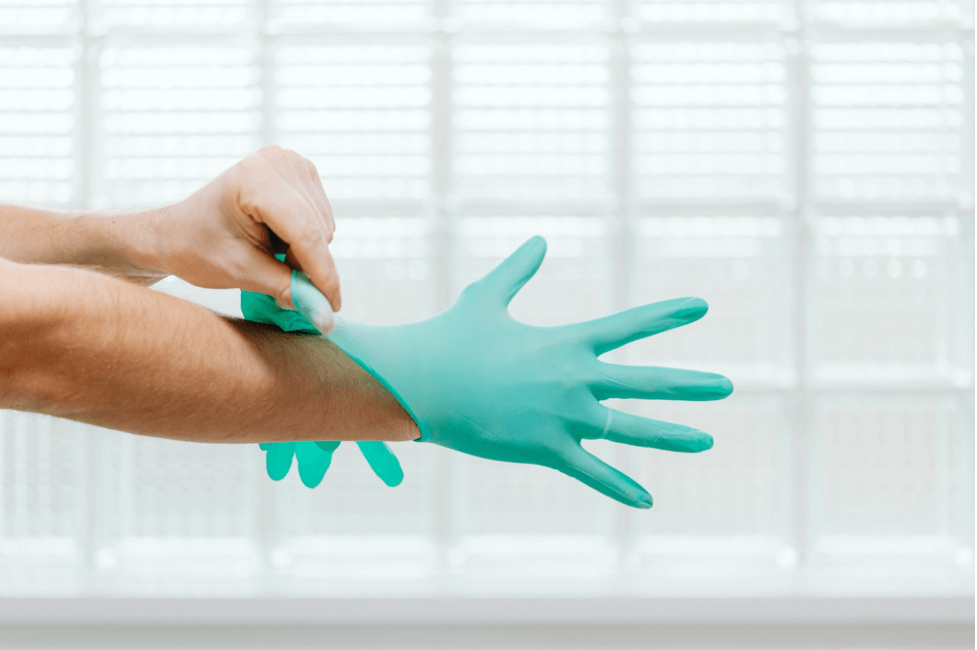
Cleaning and disinfecting a home after a fungus infestation is important. Fungus growth can occur on almost any surface, including wood and carpets. If left untreated, it can cause indoor pollutants and health problems.
If you have damp areas, open windows and doors, and poor air circulation, you may have a problem. Address the source of water or moisture to prevent the fungus from returning. If possible, replace any building materials that have become porous.
After cleaning and disinfecting contaminated surfaces, you should follow up by applying a 1% to 5% chlorine bleach solution to surfaces. This will kill any fungus spores that remain after cleaning.
Remember, different disinfectants should not be used on the same surfaces. It’s also best to allow the surface to dry completely. This process can take a couple of days, depending on the type of material. The resulting drying time will also kill any remaining fungus spores.
After disinfecting and cleaning the area, the technicians will apply a solution to kill the remaining fungus and prevent future growth. They will also address any moisture issues in the area and help the homeowner make the necessary adjustments. If the fungus problem is more extensive, a subcontractor may need to be hired for further repairs or restoration. In any case, the remediation process is crucial to the health and safety of a home.
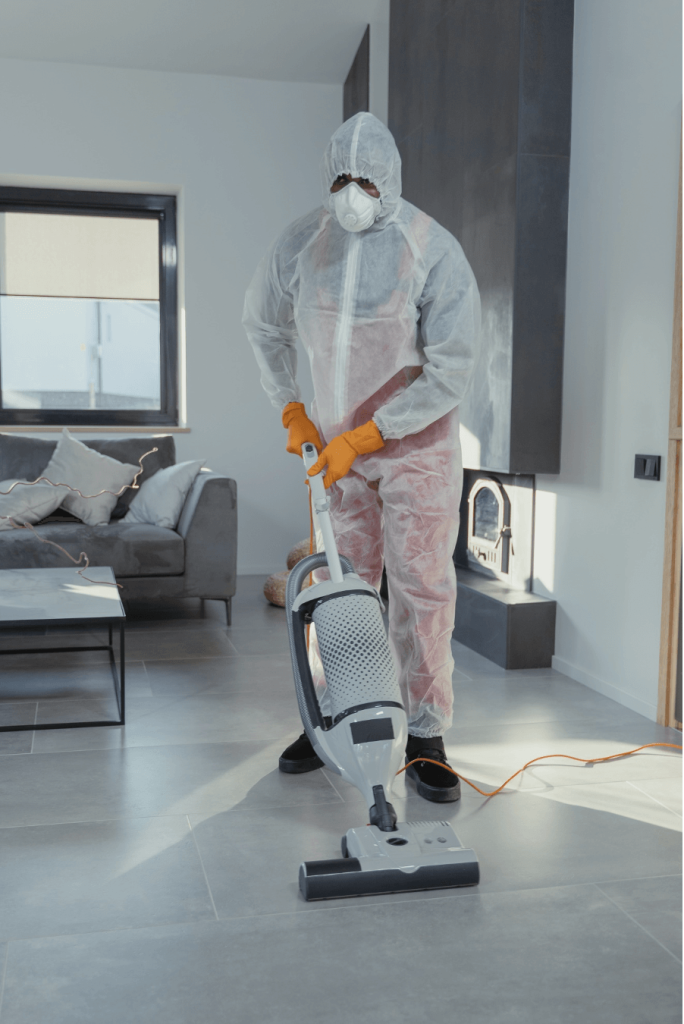
The first step in cleaning and disinfecting a mold infestation is to locate and remove the source of the problem. Mold thrives in damp, dark spaces, so finding and removing the source is crucial.
Molds can cause a variety of health problems, including skin allergies, sneezing, coughing, and inflammation. If a mold outbreak is detected, you must call a licensed restoration company such as Precision Mold Removal to help ensure the job is done correctly. Using a mold removal kit is a good way to get rid of the mold quickly.
A disinfectant solution formulated for use in mold remediation is a great way to kill surface mold stains. A solution containing one quart of water and half a cup of bleach is an excellent option for cleaning a home with mold. Make sure to allow the solution to dry completely before wiping down the surfaces.
Never rinse the solution because bleach mold cleaner can contaminate a surface with more moisture. If you have hard surfaces such as concrete, you can use detergent and water to scrub them. You should avoid abrasive cleaners, however, because they can damage these surfaces. Alternatively, you can install a dehumidifier or a new fan.


